Alight Motion is one of the best motion graphics and animation creation and editing apps on Android and iOS devices. It is a feature-rich app with many advanced and professional animations and motion graphics editing tools. Due to this nature, the app is loved by most professional video creators. The camera object feature of the app is an outstanding feature that lets you add depth and more creativity to your creation. If you love to explore this nice feature of Alight Motion this is the comprehensive guide on Alight Motion Camera Objects for you.

What is meant by Alight Motion camera objects?
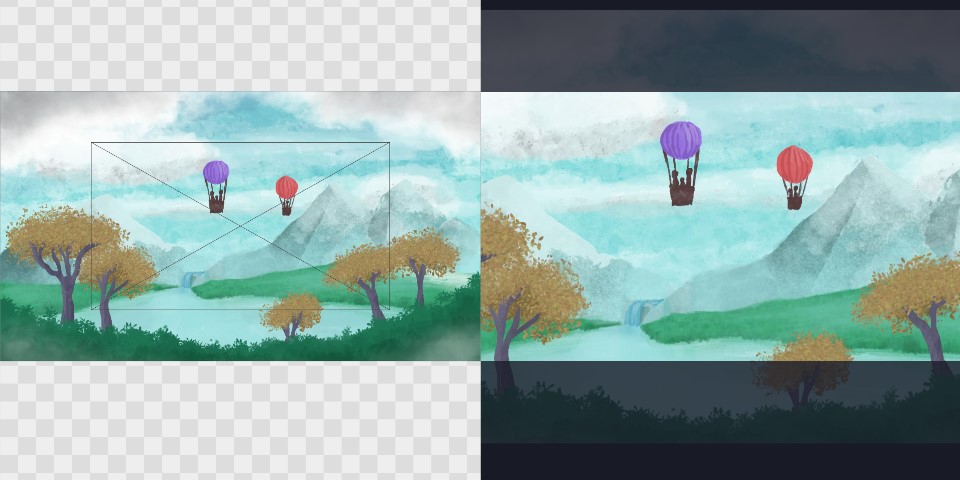
Alight Motion camera object is like a virtual viewing platform for your video creation. It can decide what elements to be displayed on your video and in what proportion. It is like the lens that lets the viewers watch your creation. There are so many benefits of using Alight Motion camera objects. Some of these benefits can be listed as follows:
Deciding the depth of each element in the video:
By changing the position of the camera object you can add depth to different elements in the video. The objects positioned closer to the camera will be larger and clearer. Likewise, the objects positioned away from the camera will be small and blurry.
Blur effect:
By adding blur effects to different camera objects, you can make some video elements clearer and sharper while making other elements blurred. This can be used to add some emphasis to selected elements making them easily visible and focused.
Fog addition:
This is another cool feature to use in camera objects. You can easily add a foggy appearance to your videos using this tool. Also, here you can customize fog features like density, color, distance, etc.
Use keyframes:
Camera objects allow you to use the keyframe feature to create engaging videos. Here you can decide on the position, size, and rotation of camera objects plus you can add animations using keyframes.
Parenting:
This is the other nice feature included in Alight Motion camera objects. Here you can connect different layers by adding a parallax effect to your creation. That means when the camera moves different layers appear to move at different speeds creating a parallax effect. It surely is a wonderful tool to use if you like to showcase your creativity and anime skills.
Adding a camera object in Alight Motion
Adding camera objects using Alight Motion on your Android or iOS is very simple and easy. This section provides a way to add camera objects step-by-step.
- Open Alight Motion.
- Tap on the ‘+’ mark at the center of the interface.
- You will be directed to the editing timeline.
- Then tap on the ‘+’ icon at the bottom right-hand corner of the interface.
- By tapping on this icon add some elements to the editing timeline like video, photo, shape, etc.
- After selecting your layers then re-tap on the ‘+’ icon below the editing interface.
- On the popping-up tool menu, you can see an option ‘Object/’
- Once you tap on this option you can see the option ‘Camera’.
- Now it’s done. You have added a camera object to the project you are creating.
Enabling the active camera mode
Enabling the active camera mode is essential if you want to see what happens to your layer when doing some changes. For this, you can tap on the ‘view option’ icon at the right side of the layer editing icon.
Here you can see an option to enable the active camera mode with a camera icon. Just tap on this camera icon. Now you have activated the active camera mode.
By enabling the active camera mode, you can see through the camera object. If not, you can only see the movement of the wireframe.

Customizable features of the camera object
As you already know there are some features you can customize by using the camera object feature. Some of these customizable features are as:
Move and transform the camera object
Here you can move your camera object layer as you wish. Also, this lets you rotate the layer and zoom the layer.
Camera
Under this category, you can change the camera view, the camera angle, focus blur, and fog.
Under the focus blur feature, you can change the focus distance, depth of field, and blur length as you desire.
By enabling the fog tool you can change the fog color, near distance, and the far distance.
Add effects and presets
This also lets you add different effects and presets to your camera objects for enhanced visual appeal.
Tips to use the camera object feature of Alight Motion effectively
If you want to get the use of this nice tool optimally there are some of the tips you can follow. This section focuses on covering some of the essential tips to use when using the camera object feature of Alight Motion.
Know better about coordinates
If you want to make camera object editing a simple and easy task then you should have a clear idea about the X, Y, and Z coordinates. If you like to experience an accurate camera moving then it is better to have a good knowledge of these.
Enable the active camera feature
By enabling this feature, you can see through your camera which makes the editing simple and easy.
Use the parallax effect
Using the parallax effect in your animations or videos is a nice way to add depth to the creation. So, experiment with different layers and try adding a parallax effect to create a stunning animation or a motion graphic.
Extra tips
Try the keyframe animation feature.
Include some other effects to create dynamic creations.
Experiment with different camera objects, tools and angles to find the right combinations.
Final words
If you want to create a dynamic animation by adding some depth and creativity, then the camera object feature of Alight Motion can save you. It is a nice feature to use if you want to create an advanced and professional video with enhanced creativity. Using the camera object feature in Alight Motion is quite simple and easy. Hence, try this tool in your anime creation journey and make it an outstanding creation.