Alight Motion is a popular video editing application for Android. It contains a lot of advanced tools you can use to produce a masterpiece of your graphic editing ability. There are many professional tools in the app as well, which enables the professional graphic editors to explore new creations.
Easing is one of these techniques found in Alight Motion that can change the speed of certain properties. This article will help you understand what is easing and how you can use it to enhance your videos.
What is Easing?
Easing is the technique of gradual acceleration and deceleration of animation to produce a smooth flowing video. This can produce a more enhanced video rather than one which uses constant speed animation.
The animation with constant speed is given the name “linear animation”, and is not very effective. When there is no gradual slowing down or speeding up in motion, the video shows sudden stops and starts in it.
However, Alight Motion can produce these gradual motions precisely with easing. There are three types of easing used in animation:
- Ease-in: The object starts slowly and then speeds up, more often, leaving the screen. It is gradual acceleration that the object shows in ease-in.
- Ease-out: The object comes to a slow stop from a higher speed, more often, entering the screen and stopping within. It is gradual deceleration that the object shows in ease-out.
- Ease-in-out: This is the combined motion of the object first speeding up and then slowing down. This is ideal when the object is moving within the screen from one place to another, or moving away and towards the viewer.
How to Use Easing effectively?
First you may have formed your animation with the normal tools of the app. Next, you can apply easing for many keyframe properties such as location, scale, opacity, color, rotation, etc. The method of applying easing remains the same while you can select the property that you want from the general tools. Following are the general steps of applying easing to any of the properties:
01. First you need to have more than one keyframe in your project in order to set an easing curve. Select the keyframes that you need to apply easing in between. The selected keyframes appear as white diamonds with black outlines. Now make sure the property you need to edit is also selected and is relevant to the keyframes.

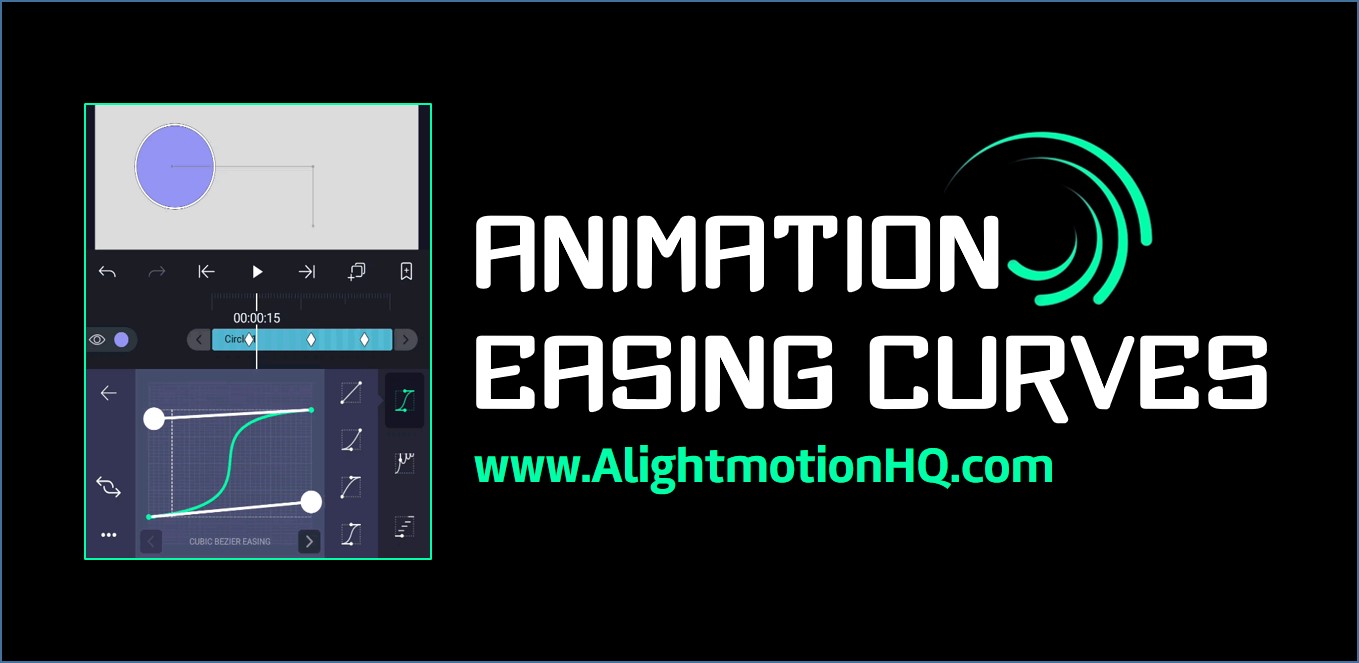
02. Now look to the left hand side toolbar where you get the Curve Editor tool and select it. The tool takes a square shape with an S-curve drawn diagonally in it.
03. Now the curve and the playhead on top of it is visible to you with the time duration. Move the playhead and watch the change of the curve at each point. This is most probably linear yet.
04. Next you should adjust this curve according to your choice. You can do this in 2 ways. Either you can choose a preset curve from the right hand side list or use the white handles to adjust them as per your own wish.You should know basically that the X-axis represents the project time while the Y-axis represents the animation time in the curve. The project starts from the left and ends at the right. The speed of the object is the slope of the curve. So if the curve is steep, that means the motion is fast. Similarly, if the slope is gentle, that means the motion is slow. So the original linear curves mean that the motion is of constant speed.
Advanced Easing Types
Now that we have looked at the basic easing method using the two handles, you should also know that there are more easing techniques. Alight Motion allows you to introduce easing for properties more than typical motion alone:
Bounce – Bouncing can be applied to values such as color, glare, etc. This is because its motion of reaching the highest value speedily and then decreasing its strength gradually, is similar to a ball bouncing due to gravity, i.e. falling down fast and recoiling up slowly.
Elastic – This technique acts as if you release a stretched spring. It hits the maximum at a flash and settles to the original position gradually. You can apply this to values other than motion too.
Cyclic – If the animation or its values keep on repeating themselves in a similar manner, that is a cyclic motion You can use easing to produce cyclic edits to wherever necessary.
Random – You can also have random motions with limited boundaries of the objects you wish to apply easing on. These random moves can be predefined by you as well.
Steps – This motion is quite discontinuous but repetitive at the same time. There is no smooth transformation, but instead the object moves between the adjacent keyframes in controlled quick movements.
Elastic steps – Here the motions described in steps and elastic are combined. The result is sudden, quick and then gradual to settle to the original position. This too can be applied for values other than motion alone.
Overshoot
You generally can edit the curve within the set boundaries of the dotted lines. But for certain advanced easing movements, you will have to place it outside these boundaries too. You can do this by selecting the Overshoot option in the “Curve Editor”. Click on the three-dotted icon and enable Overshoot. Now you will be able to drag the curve outside the boundaries as well.
Copying and Pasting Curves
You will find copy-pasting curves useful to generate another similar layer in your video.
Simply open the Curve Editor > tap on the three-dots (Overflow Menu) > “Copy Curve” > select the other keyframe pair > open the Curve Editor there > Overflow Menu > “Paste Curve”.
Final Words
Easing is an important technique to enhance your video quality and generate a meaningful story in it. Alight Motion enables this tool to be precisely used, helping the normal users as well as the professionals to create amazing clips. So if you are already using Alight Motion, make sure you try this technique and use it to produce many more videos that bring wonder.